Creating a single product
Add one product manually with full control over master data and customs information.
Use manual creation when you want to add one product with full control over all attributes. For many products at once use the Bulk upload instead.
Step 1 — Choose the product type
On the Dashboard, click the Create product card. A dialog asks which type of product you want:
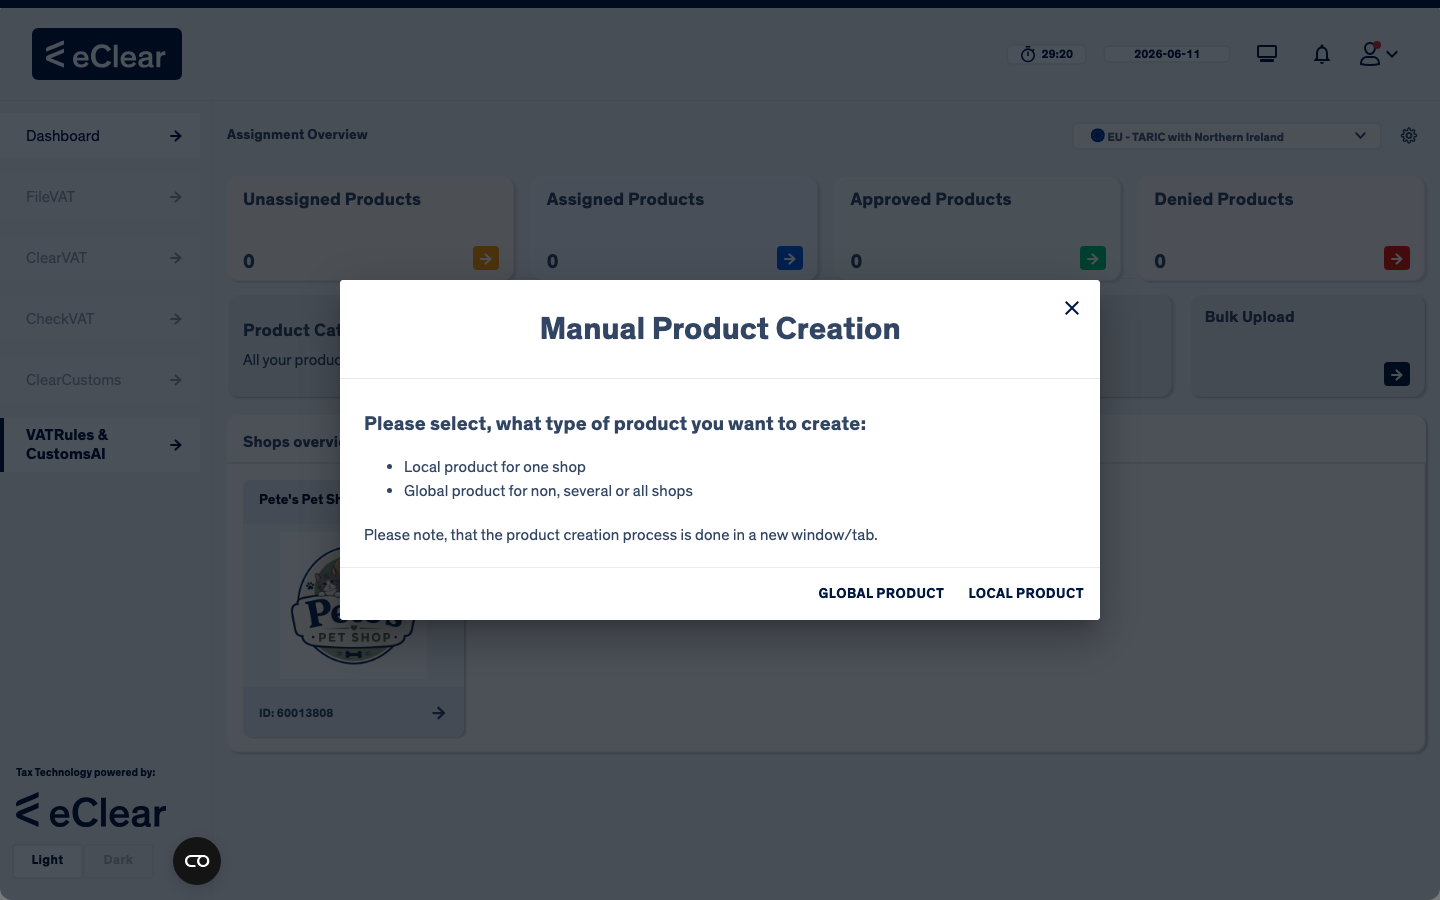
| Local product | Global product | |
|---|---|---|
| Shops | exactly one shop | none, several or all shops |
| Master data changes apply to | that one shop only | all linked shops at once |
| Classification (tariffing) | done per shop | done once for all linked shops |
Which one should I pick?
For most customers, global products are the right choice — you rarely need anything else. Create the article once as a global product and link the shops that offer it (none, several or all); its classification is then maintained in one place and applies everywhere.
Use a local product only in exceptional cases: the article exists in a single shop and always will, or different shops need to classify and maintain the same article independently of one another.
Note
The product creation form opens in a new browser tab.
Step 2 — Fill in the form
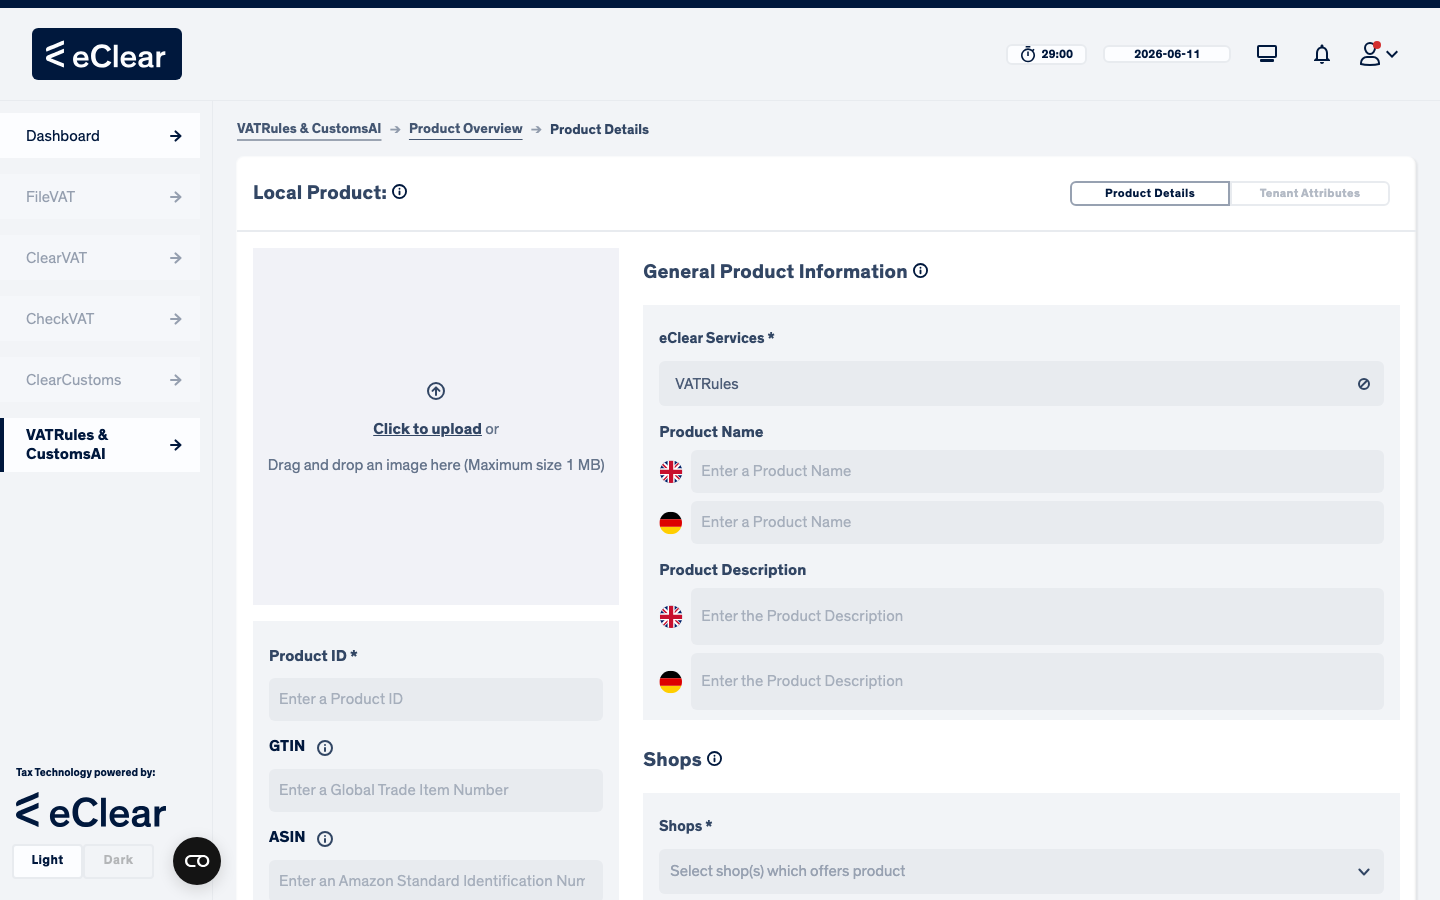
The form is one page with several sections. Fields marked * are required.
Product identifiers
- Product ID
*— your unique identifier (e.g. your SKU). Example:DOCS-LP-001. - GTIN / ASIN / ISBN / ISSN / ISMN — optional standard identifiers. The info icons show the expected format (e.g. GTIN: 8, 12, 13 or 14 digits).
- Brand/Manufacturer — optional free text.
- Product image — optional, drag & drop, max. 1 MB.
General product information
- eClear Services
*— the services this product should be available for (e.g. VATRules). - Product Name
*and Product Description*— both can be entered in English and German (flag icons mark the language of each field). The more precise the text, the better the auto-assignment suggestion later. - Product Tags — up to 5 keywords per language.
Shops
- For a local product: select exactly one shop.
- For a global product: select any number of shops (also none).
Customs information (optional, but powerful)
If you already know a customs code for the product, enter it here — auto-assignment will then use it directly instead of guessing from the text:
- Customs Tariff Code / TARIC Code / UKGT Code / TARES Code
- Country of Origin, Customs Binding Tariff Information (BTI), Customs Measurement Code
- Product Net Weight per Item + unit (g / kg / t)
Example
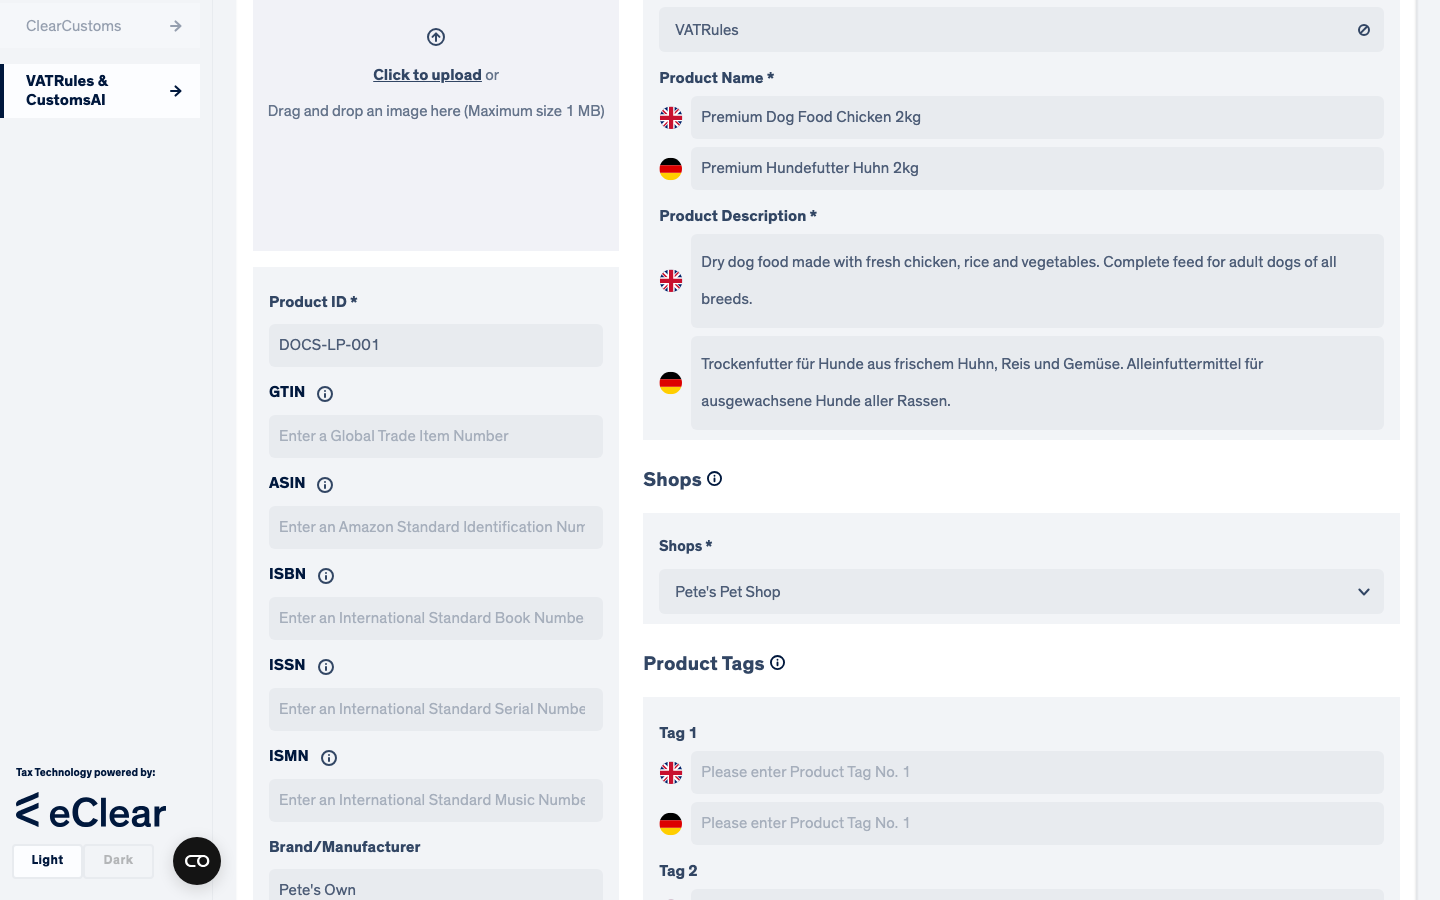
A filled local product for "Pete's Pet Shop": product ID DOCS-LP-001, English and German names and descriptions, shop selected.
Step 3 — Save
Click Save Changes. The page switches to the read-only Product Details view of the new product:
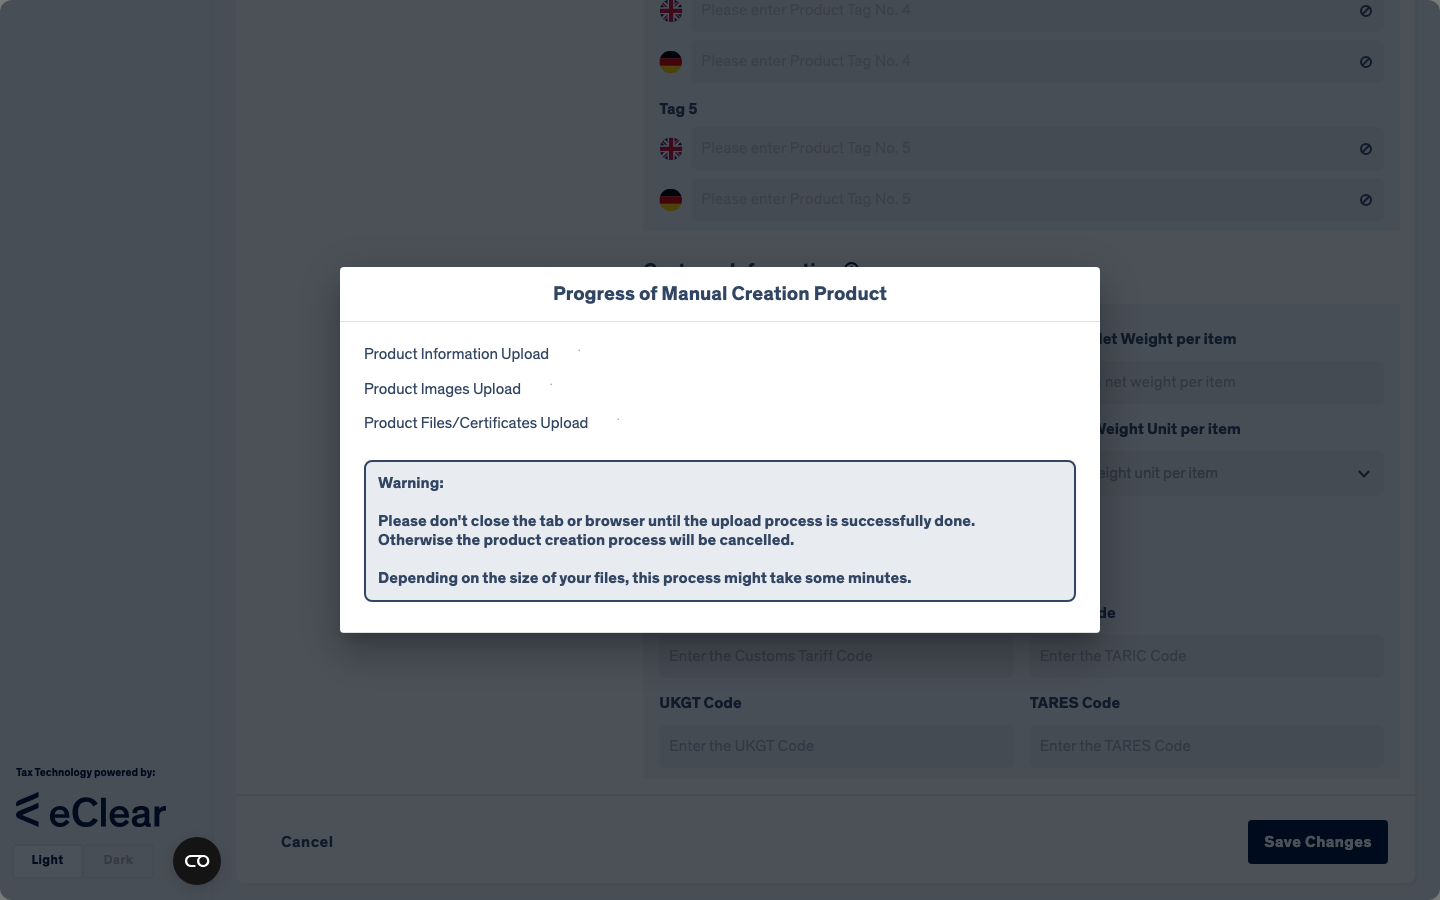
What happens next:
- An assignment with status Unassigned is created automatically for the product.
- Auto-assignment runs in the background and usually moves the product to Assigned (class found) or leaves it Unassigned / sets it to Rejected. This takes a moment — refresh the dashboard to see the result.
- Continue with Assigning a product class.
Warning
Cancel discards all information in the form. You will be asked to confirm.